Google Cardboard is a reasonable and DIY means of encountering virtual reality (VR) utilizing an Apple or Android phone. Download apps to your gadget, pop it in the ViewMaster-like watcher, and move around to see 360 degrees of genuine or computer-generated (CG) stills or video.
Google's to begin with, and the little Cardboard watcher was iPhone 5-sized, basic to gather, and utilized a match of magnets to trigger the phone's touchscreen (see the dark box over). Adaptation 2.0 accommodated larger phones, appeared to collapse into a rectangular box, and employed a conductive button as a trigger.
I made this Instructable that employs less than $1 worth of materials, combines the straightforwardness of 1.0, the measure and trigger of 2.0, and (alternatively) consolidates one of my favorite electronic tchotchkes, copper tape.
What Is Google Cardboard DIY for Kids?
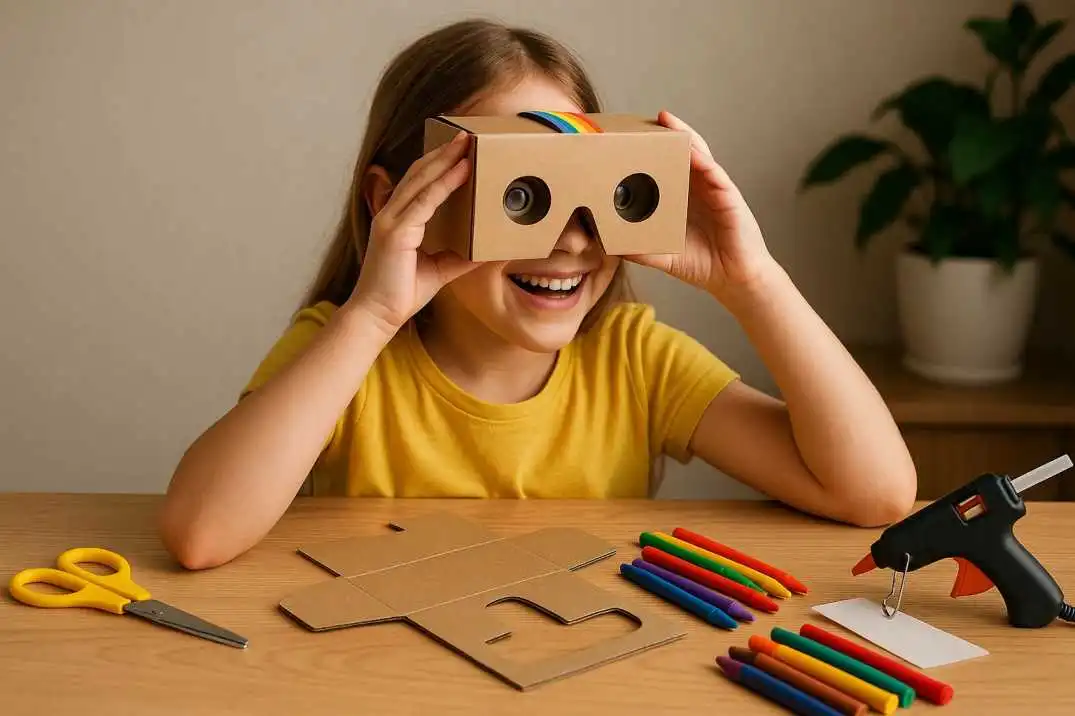
Google Cardboard is a low-cost VR watcher created by Google, designed to work with smartphones. It employs a straightforward cardboard outline, focal points, and your phone to reenact a virtual reality involvement. The best portion? You can construct it yourself, and that’s where the fun starts for kids!
Related Article: What Are the Best VR Movies for Google Cardboard?
This is the "kid-friendly" adaptation that ought to take one to two hours to make. If you're considering, why spend time building my possess when I can pay a few more bucks to purchase one as of now gathered? At that point you are on the off-base site, my companion. Welcome, individual Makers!
Top 10 Best Google Cardboard DIY for Kids
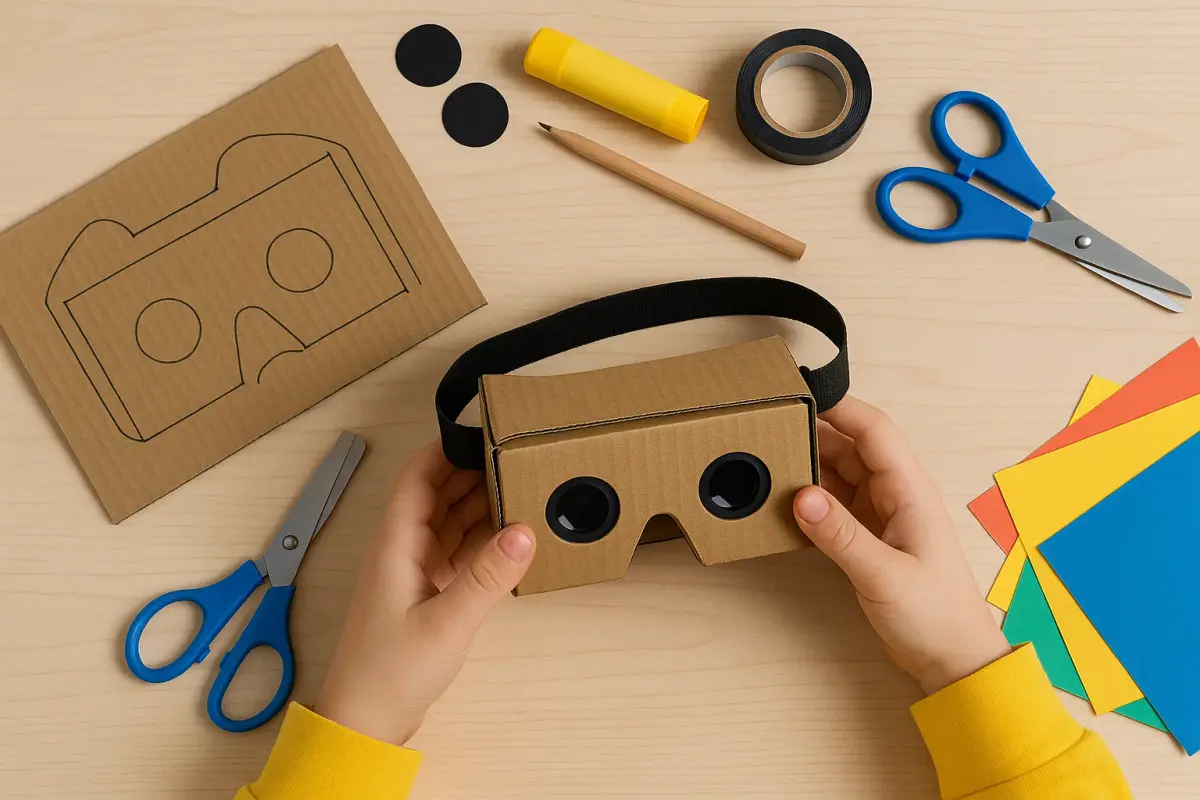
1: Accumulate Your Devices and Materials
The most slender layered cardboard you can discover, like a shoebox or pizza box. a match of 45mm central length biconvex plastic focal points, either 25mm in distance across (GC 1.0) or 37mm (GC 2.0).
You won't take note of much distinction, but 25 mm are less demanding to get and cheaper, particularly if you're willing to get them from China. AliExpress had them in July 2023 at 47 cents a comb (13 cents some time recently for shipping!), with a 2-4 conveyance time. Anticipate $2-$6 a match elsewhere.
Cutting devices: sharp scissors and/or a razor edge for straight/outside cuts and an Exacto cut for bends. reasonably powerless Velcro (squares or circles, approximately 1-2 inches over). an inflexible, metal-edged ruler. an elastic band (1/8-1/4" wide is best). a stick stick.
white stick (Elmer's) or tape. copper thwart tape for the conductive touch screen button. a modest piece of thick foam/sponge (almost .25 X .25 X .1 inch), like what a few hardware items come pressed in. Things 10 and 11 are discretionary but make the extent much cooler. Other alternatives to consider:
Paint your watcher some time recently. Step 7: Make your possess head strap out of a versatile or Velcro strip. Utilize earphones—particularly for performing expression recordings like those suggested at VR for Education.
2: Cut Out Your Cardboard Utilizing the Format As Your Guide
Print the four pages connected in the final step here and stick the pieces onto your cardboard utilizing a stick adhesive, which will permit you to peel the layout off when you're done cutting and collapsing. Tip 1: The cardboard is most grounded if you stick to the layout with the "grain" running the longest side of each piece.
Read Also: How Much Do Virtual Reality Games Cost?
Tip 2: To decrease the number of cuts and sum of cardboard required, you can stick the pieces butted up against each other as I appear here. Cut the pieces on the dim, strong lines along the borders. Hold off on cutting out the interior darkened segments, like the focal point holes.
3: Overlap on the Dabbed Lines
Score (press a scratch into) the dabbed lines utilizing a metal-edged ruler and a gloomy pencil, coin, or pizza cutter. At that point, squeezing the edge of the ruler into the scored line, overlap the cardboard toward you.
4: Cut Out Dark Sections
The cardboard was more grounded and less demanding to overlay without the interior segments evacuated, so presently you can cut out all of the remaining dull zones (focal point gaps, temple crescent, nose indent), counting the spaces in the exterior outline into which the tabs of the focal point outline will go.
5: Make a Touch Screen Button by To begin with Connecting the Base to the Flap
The button is a "pyramid" (discretionary but way cool), stuck to a moveable fold that you'll be able to press down with your right pointer once the watcher is total.
You'll stick the little piece of wipe (for a delicate touch) and lay it over with conductive copper thwart tape to bring the slight electric current from your finger to your screen. If you need to skip making this, you can reach a fair distance through the nose gap and touch your screen physically.
6: Discretionary: Total the button by sticking on a wipe and joining conductive tape
Cut a 2-inch-long piece of copper thwart tape, peel the backing, and wrap it evenly over the front of the wipe as tenderly and easily as you can. (Tip: Copper tape is best dealt with by peeling the backing as you require it, or maybe all at once.

It tends to twist, wrinkle, and adhere to itself.) Another cut a 4-inch strip and wrap it from underneath the wipe, over the top of the pyramid, down past the base, and beneath the fold. At that point, cut another 4-inch piece and connect it from the conclusion of the past piece to the best of your trigger fold, where your finger will touch.
7: Embed the Combine of Lenses
In the center layer, both sides are bent forward. Stick the three focal point holder pieces together with the bended nose area closest to you, as appeared. Clamping the three pieces together is a great thought until the stick dries (less than 5 minutes).
I suggest you put a piece of clear tape over the nose set pattern. No matter how clean we envision we or our companions are, a brow oil recolor will show up there in no time at all, and the tape will keep it from getting net-looking. Presently, if you made this from a utilized pizza box, the entire thing may have oil stains, in which case do not stress about your sleek nose.
8: Collect the Two Pieces to Make the Exterior Outline; Fit the Four Areas Together
One of the two pieces that shapes the exterior outline has a crescent bend to fit your brow, and the other has a mountain-formed bend to fit your nose.
Make beyond any doubt that you overlap the crescent piece so that the pill-shaped cutout is on the side that appeared in the first three photographs (right, if you were to thrust the bend against your head). This is where you will utilize your right pointer finger to thrust the discretionary activator button you may have created.
Each of the two outline pieces has a 3-inch collapsed area at one conclusion and a 1-inch collapsed tab at the other. Put a bit of stick on the exterior of the little tab of one of the pieces and stick that tab to the interior of the longer tab of the other.
Once clamped and dried, do the same for the other little tab. You will presently have a rectangular outline in which to embed the seeing window, the focal point embed, and at long last the phone cover fold.
This final piece embeds underneath the phone outline area as appeared in the 5th and 6th photos. The plan makes the cover fold flexible to diverse thicknesses of phone; how distant you thrust it in ought to be based on how thick your phone is.
As you test fit the four segments, alter folds and trim the cardboard if vital to make a great fit. It needn't culminate! The four areas will remain together without sticking, but feel free to stick or duct tape any area if you favor something exceptionally solid. Does Google Daydream Work With Google Cardboard?
9: Introduce Velcro
Your Velcro will last longer and remain put superior if you stick a little outline of cardboard on the beat and put the Velcro inside it (maintain a strategic distance from the stick there so the sticky back of the Velcro is holding cardboard only).
Trace your Velcro piece onto this cardboard rectangle and cut out that segment to make it fit the "snare" half of your Velcro impeccably. Peel the back of the Velcro and adhere it in the gap you just made.
Peel the back of the "eye" half of the Velcro and interface it snare-to-eye to the piece on the beat of your watcher. Near the top, onto the sticky back of the eye velcro half, making beyond any doubt that as you near the beat, there is a hole in front that will fit your phone. Including a thick elastic band at the base of the cover will give a few feet of footing to avoid your phone from sliding out sideways.
10: Download a VR App and Embed Your Phone
Fire up a Virtual Reality app and embed your phone into the front of the watcher. Overlay over the fold to hold it in put. The part in the center of the screen lines up with the triangular indent(s) in your watcher. If the picture looks like you're crossing your eyes, slide the phone somewhat cleared out or right.